


What's the process like for moving from an onsite to a Cloud license?
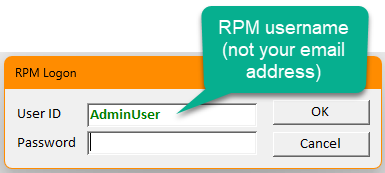
I logged into RPM Cloud--why does RPM say my user ID/password isn't valid?
How do I select my local printer in Cloud?
Why aren't my checks showing up when I hit print?
How do I move files to and from Cloud to my local PC?
How do I un-void a check I voided accidentally?
Why can't I see these buttons on the Clients screen?
I made a mistake—how do I undo it?
Why didn't this report show any data?
Sometimes, you get this message when you attempt to run a report:
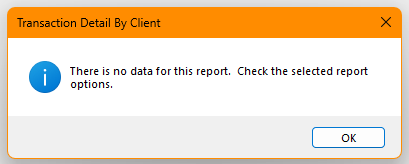
If this happens, it’s likely that your criteria are too narrow. Try running the report for a longer date range, removing client type/support type/account manager/category filters, and making sure you’ve selected the correct client and/or account, if applicable.
If you’ve adjusted your criteria and still can’t figure out why the report isn’t running, you can always contact us for assistance.
What if my scheduled transactions recur on a weekend?
If you want to process any scheduled transaction for a date other than the date it recurs—for example, if that date is a weekend or holiday—you can use the “Other date” option on the processing screen.
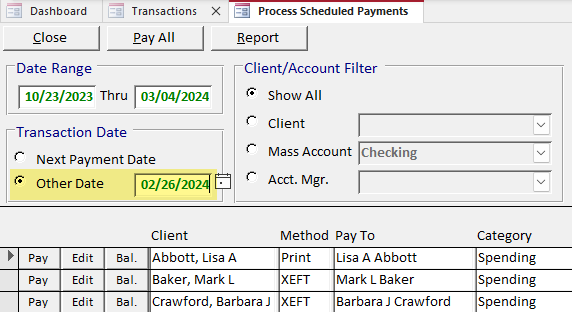
Using the “Other date” option does not change the next occurrence of the scheduled payment.
For example, if your clients’ monthly spending payments recur on Saturday, June 1, you can use the “Other date” option to process these payments once for Monday, June 3. Next time, those payments will still come across your dashboard on July 1.
You can find a video walking you through this process in our Changing dates for scheduled deposits and payments article.
How do I handle the fees my clients pay to my company?