RPM upgrade for SQL
This article only applies to RPM Onsite licenses using a SQL Server database. To view the type of license you have, open the System Info screen under the RPM Help menu.
See all the changes in the latest upgrade.
Do I need to upgrade RPM?
If you are not currently running RPM version 6.1.0, you should upgrade to the latest version. Follow the steps below.
Upgrading the RPM server to 6.1.0
The upgrade needs to be installed to the RPM Server folder. RPM itself can only be run on a computer with the RPM Client installed (which is usually not the server). The SQL database upgrade will need to be completed from a computer that has SQL Server Management Studio installed with access to the SQL Server database(s).
Before you upgrade
Follow these steps before upgrading:
- Open the System Info screen under the RPM Help menu. Use the Report button and print a copy of your current RPM system information. This will show the version of RPM you are currently running and the network location.
- Open the Reports screen in RPM and select the “Miscellaneous” section. Select the Company List report and click Report to get a list of the SQL Server database(s) used in RPM. (This report is only available in version 6.0.2 or later. If you are running an older version of RPM, open the SQLConnect application in the “RPM Server” folder to see the database(s).)
- Make sure you have a backup of your “RPM Server” folder (the Network Path from the System Info screen).
- Make sure all users, including you, have closed RPM.
SQL database upgrade
Follow these steps to upgrade the SQL database:
- Download and unzip the required SQL script based on the version of RPM you are currently running (as shown on the System Info report).
- Open SQL Server Management Studio for the SQL Server shown on the Company List report.
- Back up each RPM SQL Server database before continuing.
- Select Open, File from the “File” menu. Open the SQL upgrade script downloaded in step 1. The script to open should be RPMSQLUpgradeScript_VersionXXXto610.sql where “XXX” is your current RPM version.
- Follow the instructions at the top of the script to change the database name “RPMDB” to your actual SQL database name.
- Click Execute to run the SQL script. If there are any errors, stop and contact us immediately for troubleshooting.
Repeat steps 5 and 6 for each RPM SQL database.
RPM Server upgrade
You’re ready to install the upgrade! Follow along with the installation here:
- Right-click on the downloaded file and select “Run as administrator.” The welcome screen will display.
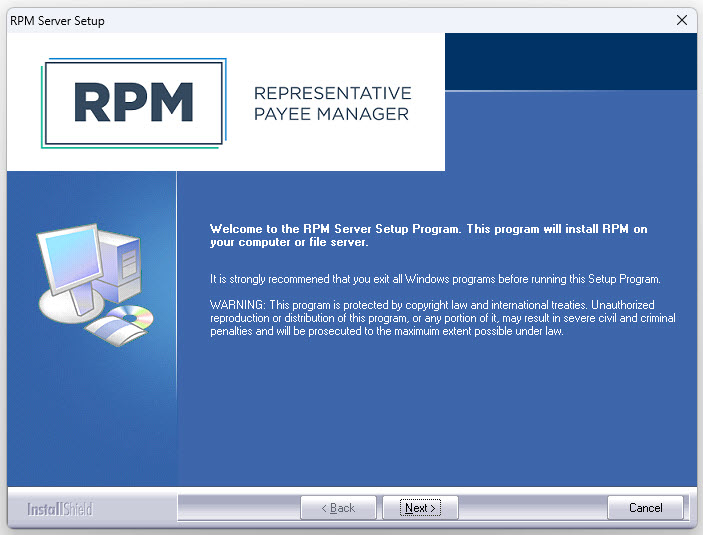
- Click Next to continue.
- Accept the license agreement and click Next. The destination folder will display.
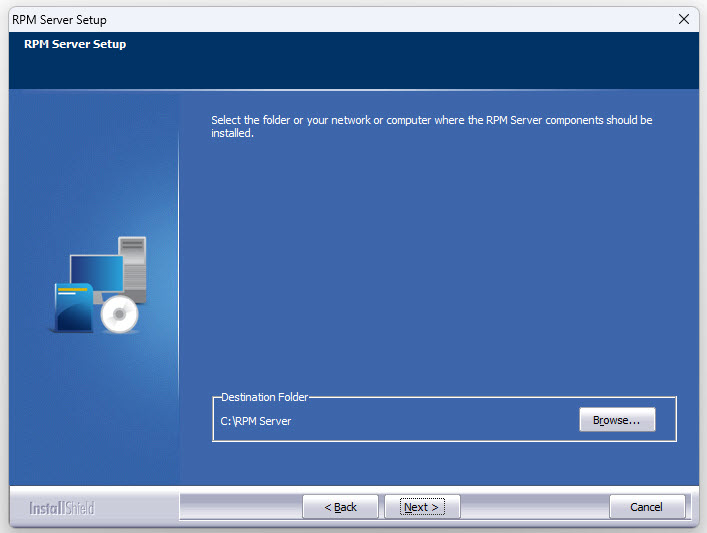
- The destination folder should default to your current RPM network path if RPM has been installed from this computer previously. If the path is not correct, use the Browse button to select your current “RPM Server” folder. The destination folder should match the network path location shown on your System Info report.
- Click Next to continue.
- Click Install to begin the RPM server installation.
- Click Finish when the server installation is complete.
- Open RPM on one workstation to complete the upgrade.
- Verify the new version has been correctly installed by opening the System Info screen in RPM. The version displayed should be 6.1.0. After this, other users can get back into RPM.
Do I need to reinstall the RPM Client on the other workstations?
That depends.
- If your previous RPM version was 6.0.6, 6.0.7, 6.0.8, or 6.0.9, you do not need to reinstall the Client. You’re good to go!
- If you were using an older version (6.0.5 or earlier), you might; head to our page about reinstalling the Client for more details.